Quick note
The last skyhud.txt file in your loadlist (left MO2 panel) takes priority over everything else, so make sure that you’re editing the very last one.
Learn how to customize and optimize your Skyrim user interface with SkyHUD.
Toggle HUD elements on or off, scale sizes, change positions and swap elements with alternative version. Features dot crosshair, slim compass, alternate ammo display, detached compass markers and built-in support for font mods.
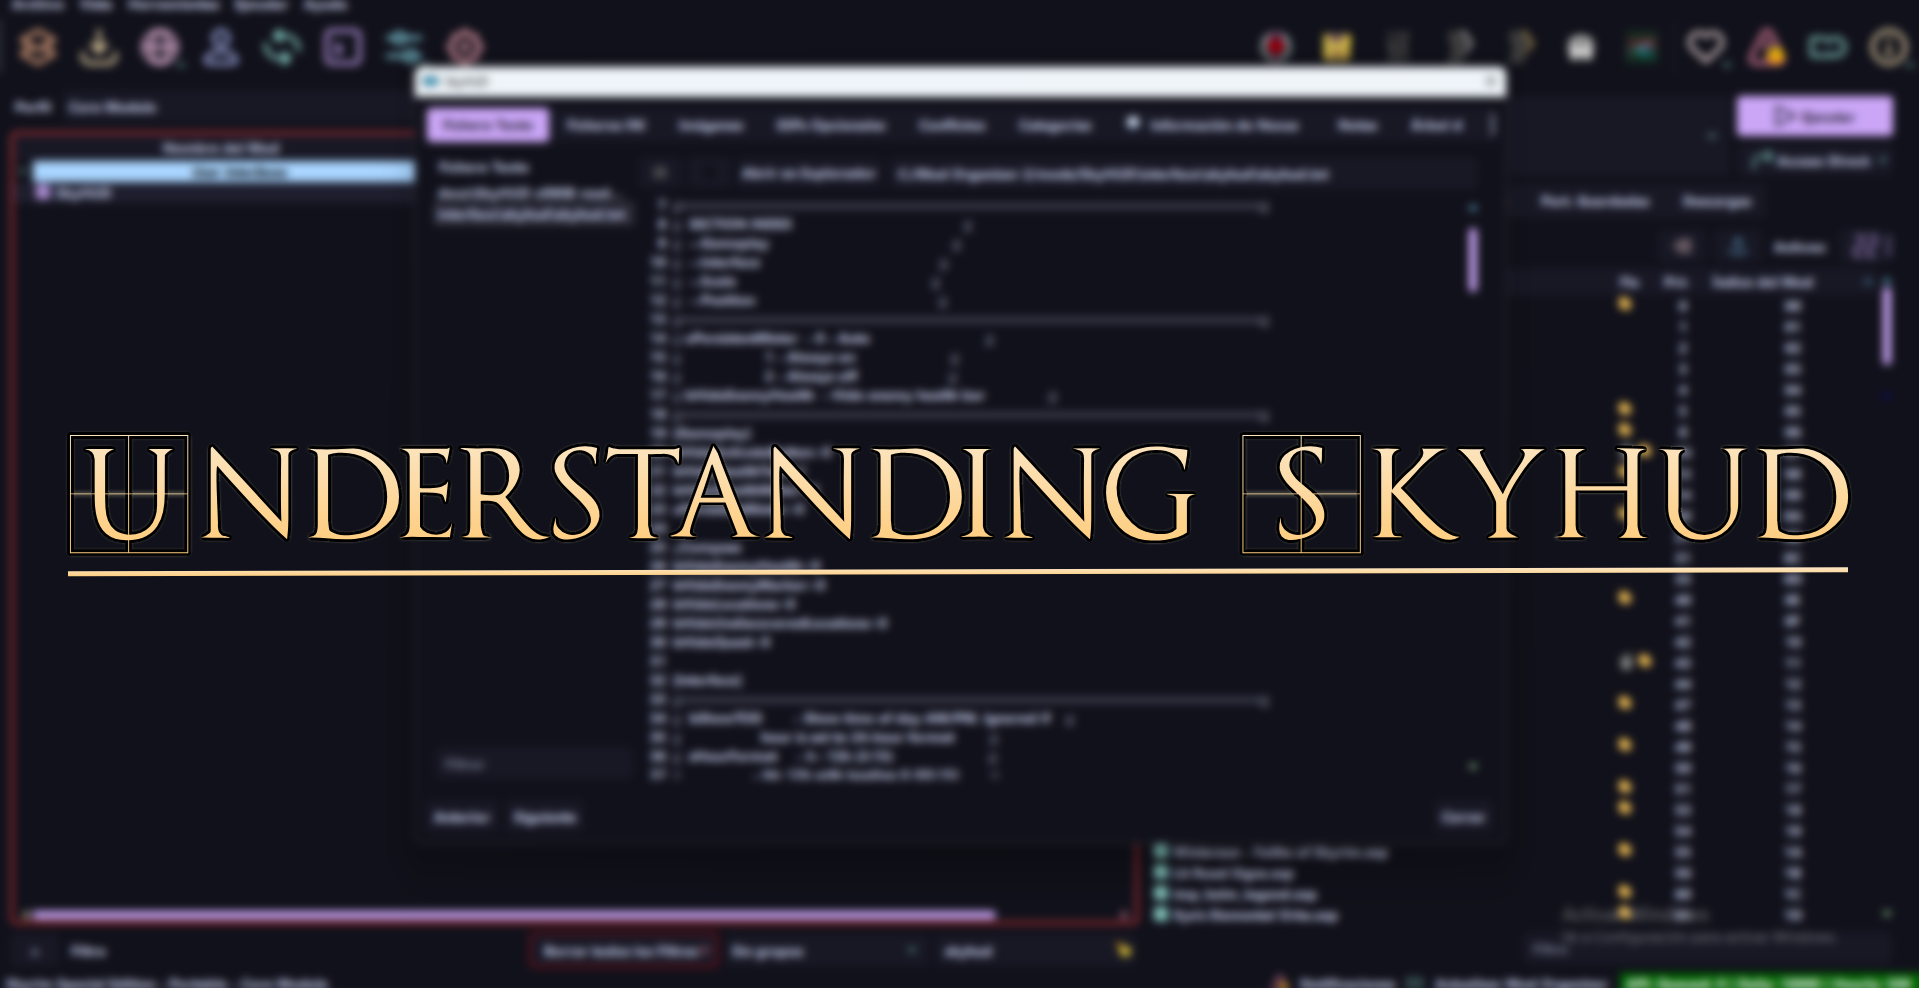
Most of UI elements that you see on your screen in skyrim are controlled thru skyhud.txt, located in *...\mods\Edge UI\interface\skyhud* folder
(if you use another UI replacer, change the path accordingly)
Quick note
The last skyhud.txt file in your loadlist (left MO2 panel) takes priority over everything else, so make sure that you’re editing the very last one.
The [Gameplay] section of the SkyHUD configuration file controls various aspects of Skyrim’s (HUD) behavior, specifically related to gameplay elements.
Below is an example configuration with explanations of each setting:
[Gameplay]bHideActivateButton=0 <- Toggles the [E] active interaction button.bHideStealthText=0 <- Toggles the text notification [HIDDEN] while in stealth mode. Change to 0 if you want to display the Stealth WidgetbHideStealthMeter=1 <- Toggles the stealth status icon [The EYE icon] while in stealth mode. Change to 0 if you want to display the Stealth WidgetuPersistentMeter=1 <- This controls the Player Bars (Health/Stamina/Magicka) visibility. Values: 0 - Bars are only displayed when you take damage or sprint. 1 - Bars are always visible. 2 - Bars are always offThe [Interface] section in the SkyHUD configuration file controls elements of the game’s user interface that are displayed on the screen. Below is an explanation of the available setting in this section
[Interface]bShowClock=0 <- Turn In-game clock on/offThe [Scale] section of the SkyHUD configuration file is where you can adjust the size of various HUD elements to better suit your preferences. Each setting controls the scale of a specific UI component, allowing you to fine-tune the visual experience. Here’s a breakdown of each option:
fClock=0.6 <- Clock Widget sizefHealth=1 <- Health bar sizefMagica=0.7 <- Magicka bar sizefStamina=0.7 <- Stamina bar sizefChargeMeter=1 <- Enchantment/Oxygen(if you use oxygen meter 1) meter sizefCrosshair=1.2 <- Default Crosshair sizefCompass=0.85 <- Compass sizefCompassMarker=0.6 <- Compass Markers sizefSubtitle=0.8 <- Subtitles size (does not change the subtitle size in dialogues)fStealthMeter=0.75 <- Stealth Meter sizefLocationInfo=0 <- Default Location info notificationfMessageInfo=0.6 <- Size of text notifications, for example MCM mod initiations, Experience Gained, SunHelm conditions change etcfArrowInfo=1.2 <- Arrow Widget sizefActivatePrompt=0 <- Default Interact Widget sizefObjectiveText=0.7 <- Quest objective notifications sizefLevelUpMeter=0.8 <- Levelling up notification sizefAnimatedLetters=0.5 <- Default Dragon Word learned/Skill Increased text size (currently redundant in Edge UI, as I use a different approach)Quick note
If the first parameter set to 1 (bLockCompass=, bLockMagickaMeter= etc),- it will use default position values, set it to 0 for it to take effect. Y is UP/DOWN position, X is LEFT/RIGHT
The [Position] section of the SkyHUD configuration file allows you to customize the on-screen positioning of various HUD elements. This section gives you precise control over where each element appears, by adjusting the X (horizontal) and Y (vertical) coordinates. Here’s a breakdown of how each setting works:
[Position]
bLockHealthMeter=0fHealthPosX=95          <- Health Bars X position. Lower numbers = move to the left, Higher = to the rightfHealthPosY=668         <- Health Bars Y position. Lower numbers = moves up, Higher = moves down
bLockMagickaMeter=0fMagicaPosX=146         <- Magicka Bars X position. Lower numbers = move to the left, Higher = to the rightfMagicaPosY=680         <- Magicka Bars Y position. Lower numbers = moves up, Higher = moves down
bLockStaminaMeter=0fStaminaPosX=-2         <- Stamina Bars X position. Lower numbers = move to the left, Higher = to the rightfStaminaPosY=680        <- Stamina Bars Y position. Lower numbers = moves up, Higher = moves down
bLockArrowInfo=0fArrowInfoPosX=980      <- Arrow Widget X position. Lower numbers = move to the left, Higher = to the rightfArrowInfoPosY=633      <- Arrow Widget Y position. Lower numbers = moves up, Higher = moves down
bLockCompass=0fCompassPosX=           <- Compass X position. Lower numbers = move to the left, Higher = to the right. Empty = Center/DefaultfCompassPosY=60         <- Compass Y position. Lower numbers = moves up, Higher = moves down
bLockSubtitle=0fSubtitlePosX=          <- Subtitle X position. Lower numbers = move to the left, Higher = to the right. Empty = Center/DefaultfSubtitlePosY=550       <- Subtitles Y position. Lower numbers = moves up, Higher = moves down
bLockStealthMeter=1fStealthMeterPosX=      <- Stealth Meter X position. Lower numbers = move to the left, Higher = to the right. Empty = Center/DefaultfStealthMeterPosY=      <- Stealth Meter X position. Lower numbers = moves up, Higher = moves down
bLockMessageInfo=0fMessageInfoPosX=920    <- Messages text notifications X position. Lower numbers = move to the left, Higher = to the right.fMessageInfoPosY=55     <- Messages text notifications Y position. Lower numbers = moves up, Higher = moves down
bLockClock=1fClockPosX=             <- Clock X position. Lower numbers = move to the left, Higher = to the right.fClockPosY=             <- Clock Y position. Lower numbers = moves up, Higher = moves down
bLockObjectiveText=1fObjectiveTextPosX=     <- Quest Objectives text Y position. Lower numbers = move to the left, Higher = to the right. Empty = Center/DefaultfObjectiveTextPosY=180  <- Quest Objectives text Y position. Lower numbers = moves up, Higher = moves down
bLockLevelUpMeter=1fLevelUpMeterPosX=840   <- Levelling up text X position. Lower numbers = move to the left, Higher = to the right. Empty = Center/DefaultfLevelUpMeterPosY=45    <- Levelling up text Y position. Lower numbers = moves up, Higher = moves down